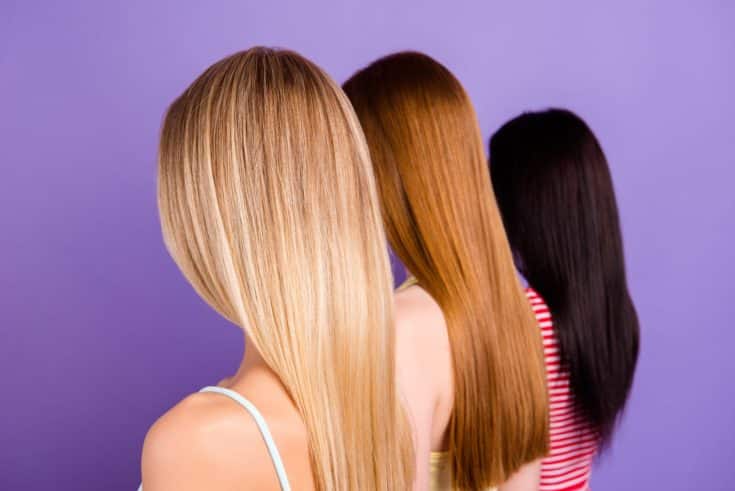
Heat and styling breaks down the elasticity of hair, and weather can wreak havoc on both the cuticle and shaft of your strands, resulting in hair that is dull and lifeless. If you find that your brush doesn’t move as freely through your hair and you are struggling with dryness and increased flyaways, you may want to take a closer look at your hair conditioning habits.
This is especially true for styles that have a lot of body, and a lack of curl and body definition is not a problem anyone wants to deal with. Luckily, there is a way to provide a healthy, beneficial hydration treatment to your hair in the privacy of your own home. Don’t waste your money and throw away an entire afternoon to a beauty treatment that you can easily apply. This guide provides all you need to know how to deep condition natural hair with coconut oil.
Types of Oils That Penetrate the Hair Shaft
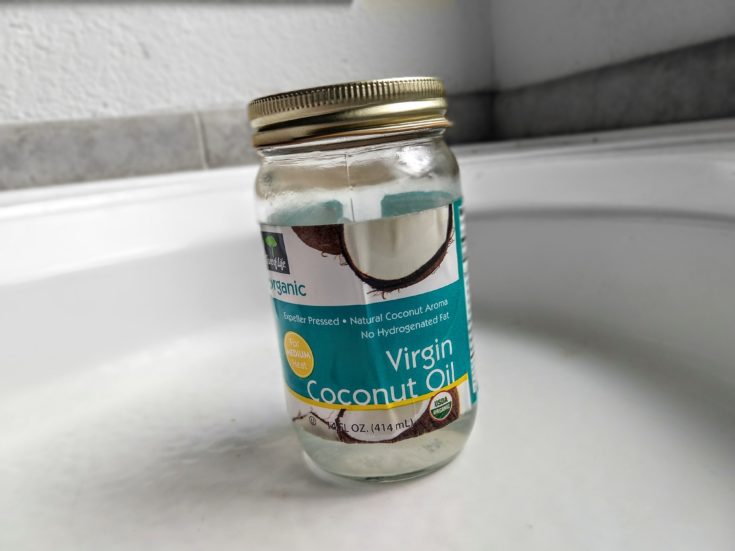
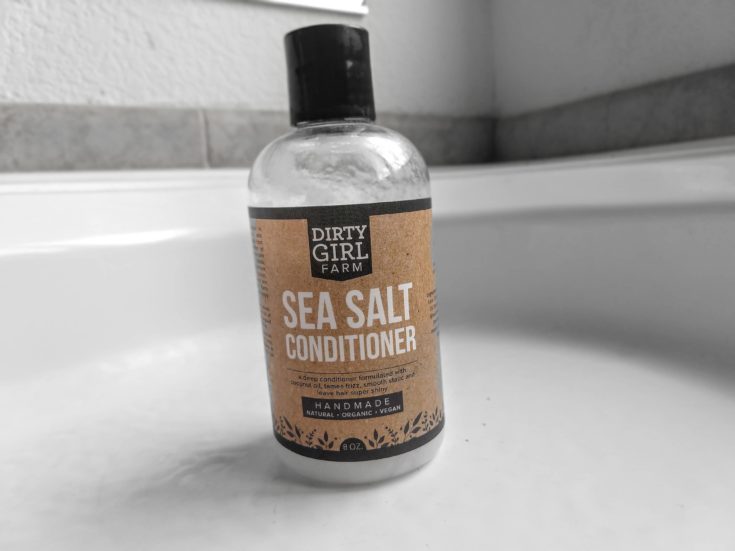
For this deep conditioning mask I used coconut oil due to its easy availability and healthy antibacterial and antimicrobial properties, as well as soothing moisturizing feel that is safe even for the most tender skin. Plus, it is only one of the few oils that is able to penetrate the hair shaft to deeply moisturize and help to hold hydration.
This penetration occurs due to basic scientific principles. These oils contain high amounts of both triglycerides, which have a positive polar charge and are pulled into negative polar charges in the hair; and monounsaturated fats that are able to penetrate more deeply due to their smaller size in comparison to other fatty acids (lipids). Oils with lower levels of triglycerides, and larger lipids have a tendency to coat the strands to provide a more temporary solution. They also can form a barrier against moisture, so it is best to use those oils that can help pull moisture into the hair itself.
These oils include coconut oil, ucuuba butter, sunflower oil, and olive oil as top contenders. Others do exist but are not as documented as these choices, making them a favorite amongst DIY hair product creators.
The Best Hair Types for This Type of Treatment
Although not common, there are reports of deep conditioning hair masks that use natural oils not being as helpful as they should be. In some cases, an increase in dryness has occurred. There is a scientific explanation for this as well, and has to do with the natural porosity of your strands. Most people have a medium to high porosity hair type and will reap the maximum benefits from this type of treatment. Low porosity strands may not, however, and hair may end up feeling ‘coated’ rather than hydrated and end up limp, or even worse, feeling more dry. If you want to know what type of hair you have, take this simple test:
Hair Porosity Test
- Take a few strands of clean hair
- Place in a bowl of room temperature water for 2 to 4 minutes
- Read the results: hair than sinks has a high porosity, hair that stays floating has a low porosity, and medium porosity is denoted by a slow sink or sort of floating in the water effect.
You also need to take into account any hair dye you have applied. It can change porosity and how it responds to various deep conditioning treatments.
What You Need
You don’t need to really measure out the ingredients of this deep hydrating mask. It is very much dependent upon how much hair you have and what will fully coat it. To give you a rough idea of amounts, I have long, below the shoulder, wavy hair and made approximately a third of a cup of oil mixture that I worked through my tresses. This was plenty and was trying to drip before I wrapped it up.
- Coconut oil
- Favorite rinse out conditioner
- Cotton t-shirt or towel
- Optional: plastic bag
Step by Step: Home Conditioning Remedies for Natural Hair
The following steps are suggested to reap the full benefits of this simple oil hair mask. You can easily change the type of oil you use (see the above mentioned products that work best), leave out a conditioner, or change the time you leave the mask on for. The steps I took were what I have discovered to work best for my hair type, treat my scalp, and leave behind manageable, volumized strands.
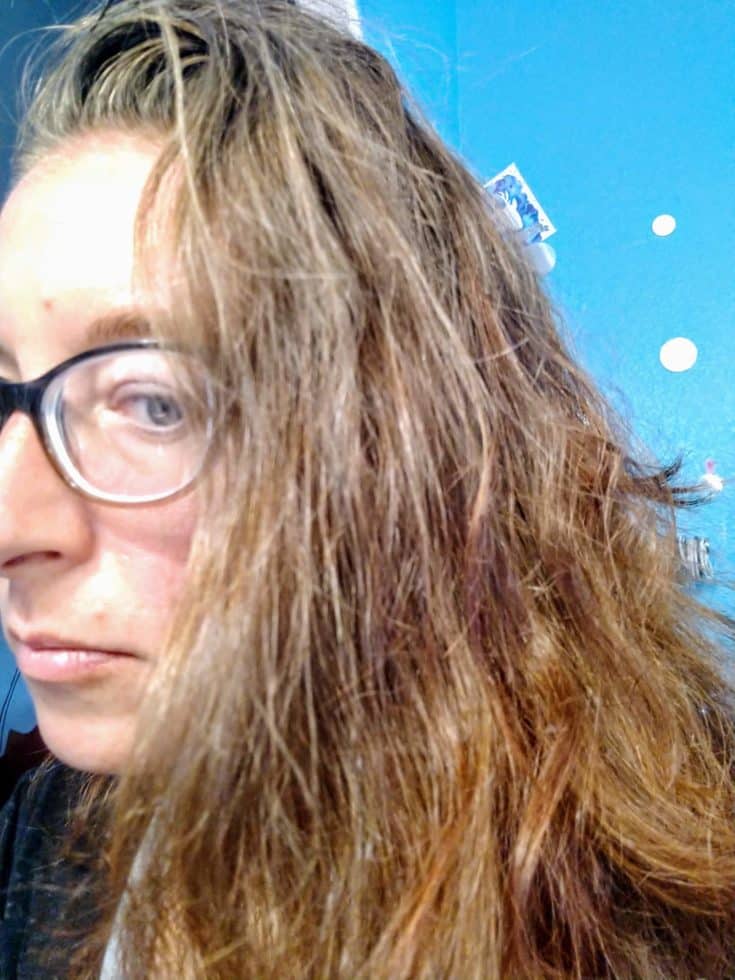
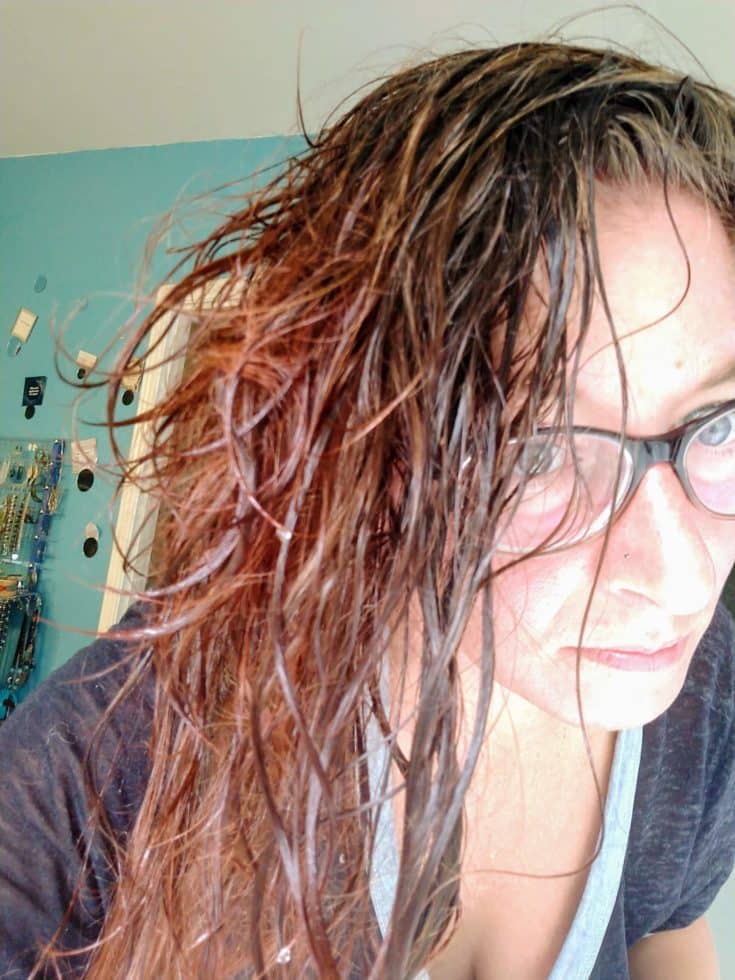
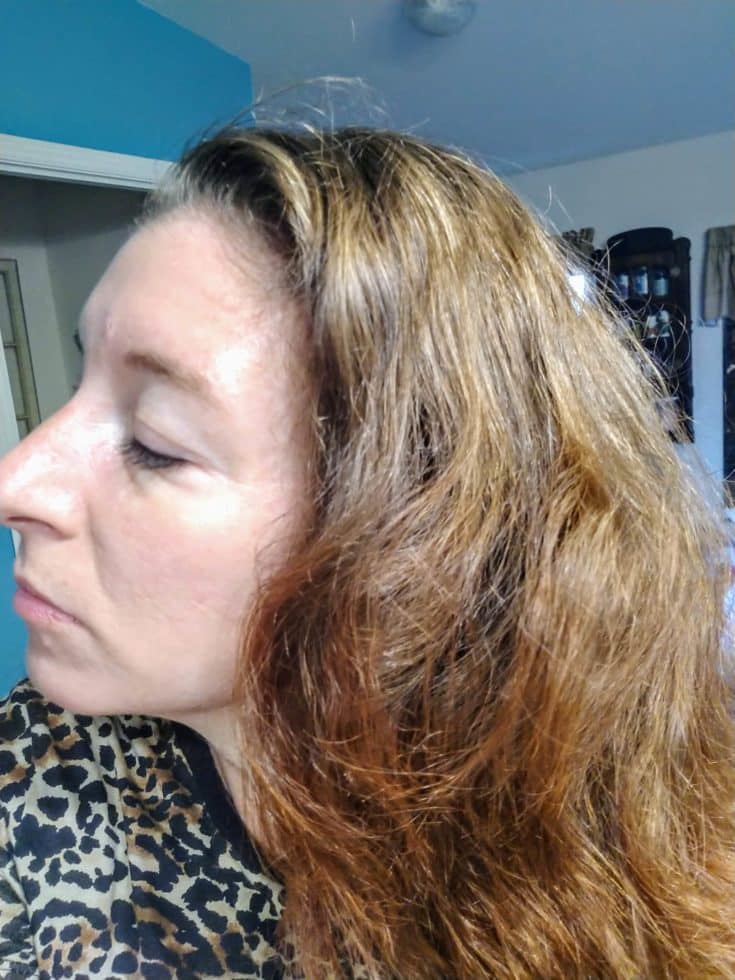
As you can see I started with a pretty dry head of hair that was full of flyaways and seriously unmanageable frizziness. I spent a summer out of doors in a variety of conditions, including A LOT of sun. Plus I live in a very dry climate that makes working with my naturally wavy strands difficult as they get big and poofy rather than defined.
Step 1: Brush and Wet Hair
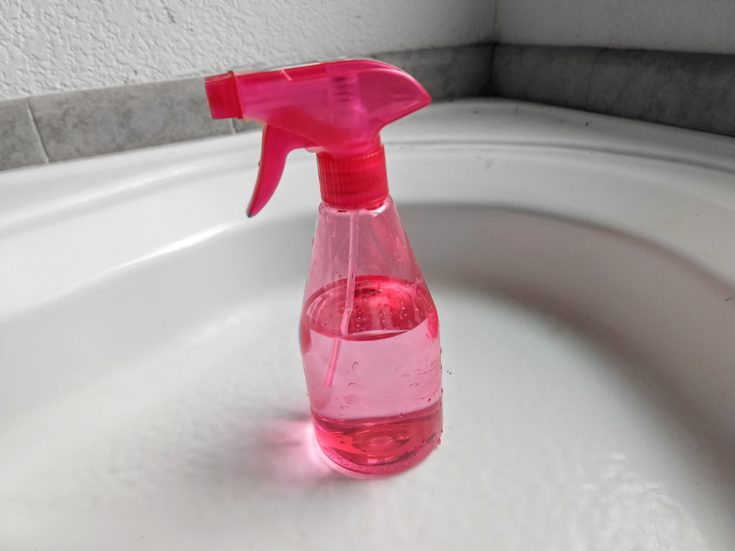
Gently brush your hair before getting started and spray with a room temperature water. Don’t completely soak your head, but simply get it wet enough to be thoroughly damp using a spray bottle. These bottles are pretty inexpensive and I always stock up to keep them handy for various projects. DO NOT run a comb through your hair after you get it wet. You don’t want to weaken the strands by tugging on them.
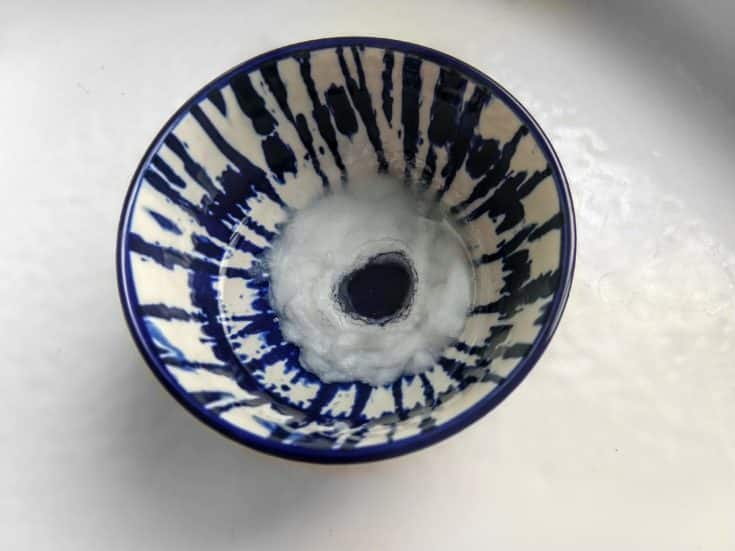
Step 2: Mix Conditioner and Oil
I use an all natural ingredients rinse out conditioner to serve as a good base for my coconut oil to create a natural deep conditioner for dry hair. The oil can get quite runny, and conditioner allows you to make it a bit more viscous for easier application. Plus, the extra conditioning ingredients are an added perk. I used a 4:1 oil to conditioner ratio and then mixed it well in the bowl I used.
The added thickness allows it to sit on the strands for hydration rather than run off right away as well. Coconut oil is very runny and melts at a fairly low temperature. Even placing it in your hands will make it melt, and it is easy to waste the oil while applying to your hair.
Step 3: Work Through Hair & Massage into Scalp
I always turn my head over the bathtub and start to work the mask in at my scalp. This allows it to draw down my strands of hair and also allows me to avoid drips and wasted product. Rub it in good on your scalp to stimulate the cuticle and also deeply cleanse and hydrate your skin. If you suffer from dandruff or other skin conditions this is a great way to hydrate all while providing an antibacterial and anti inflammatory treatment as well.
Be sure to work it down the length of your hair and pay particular attention to your ends. Gently work your fingers through your locks and make sure you have saturated your entire head.
Step 4: Wrap in Warm Cotton Towel or T-Shirt
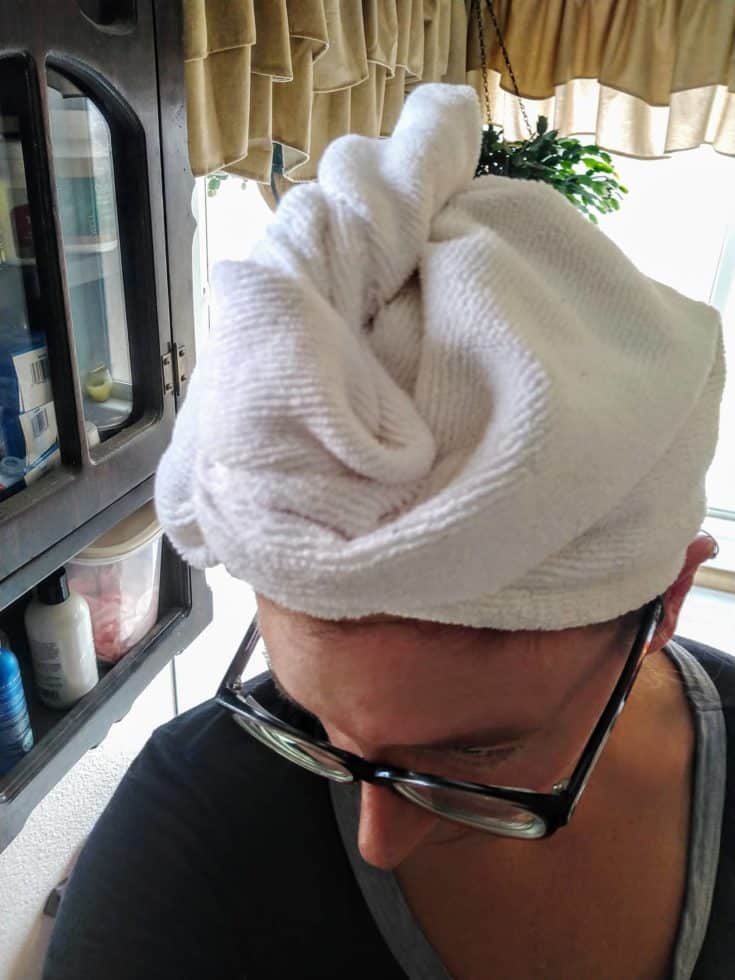
The next bit is totally optional, but if you really want to keep your mask where it belongs I suggest wrapping your head in a plastic bag before placing a warm towel over it. This helps hold in your body heat as well and allows the oil to truly penetrate into the shaft. Use a thin towel or shirt so you can wrap it tightly to keep it from slipping.
Leave this on for at least 20 minutes. You will have better results if you leave it for 40 or more however, and I simply go about with whatever I have been doing until I have time to rinse and wash it out. The plastic also keeps it from being absorbed by the towel or dripping- making it a bit more convenient if you have other things to do rather than wait it out.
Step 5: Rinse With Cool Water
Rinse your head with cool water to help close the cuticle and seal in the moisture you just applied. Do this until you feel that you have removed the majority of the product. It shouldn’t feel oily, but maybe a bit heavier than what you are used to due to the oil that will still be coating the outside of the hair strands.
Step 6: Wash and Condition as Usual
In the same cool water, gently shampoo your head as you normally would and massage your scalp to break up the oils and allow them to rinse free. Your hair will begin to feel lighter and you won’t feel any conditioning residue. If you like you may also condition as normal.
Once done you can style as usual! I also recommend you use a light, leave in conditioner to help protect it from heat and styling products.
I left my hair to dry naturally and brushed it out. This treatment always leaves behind a lot of volume and allows my natural body to be more defined. It also tames my flyaways and makes it much more manageable for styling with very little effort.
Step 7: Repeat Every Week to Two Weeks

Do this every two weeks or so (more if you feel your hair would benefit from it) and start to see healthier results! I rarely have to use a curler to help define my waves when I do this on a regular basis as it provides both volume and control that works well with simple ponytails and other updo’s without creating a frizzy mess.
Conclusion
If you struggle with dry hair, unmanageable hair, or need a solution to flyaways and body definition, the use of coconut oil as a deep conditioning hair mask is a great solution. Simple ingredients and about an hour is all you need for this treatment that will not weigh down your tresses with additives or synthetics often found in store-bought products.
If you have any questions or comments, please let us know below. And, as always, please share!
The post How to Deep Condition Natural Hair With Coconut Oil appeared first on Better Mind Body Soul.
No comments:
Post a Comment